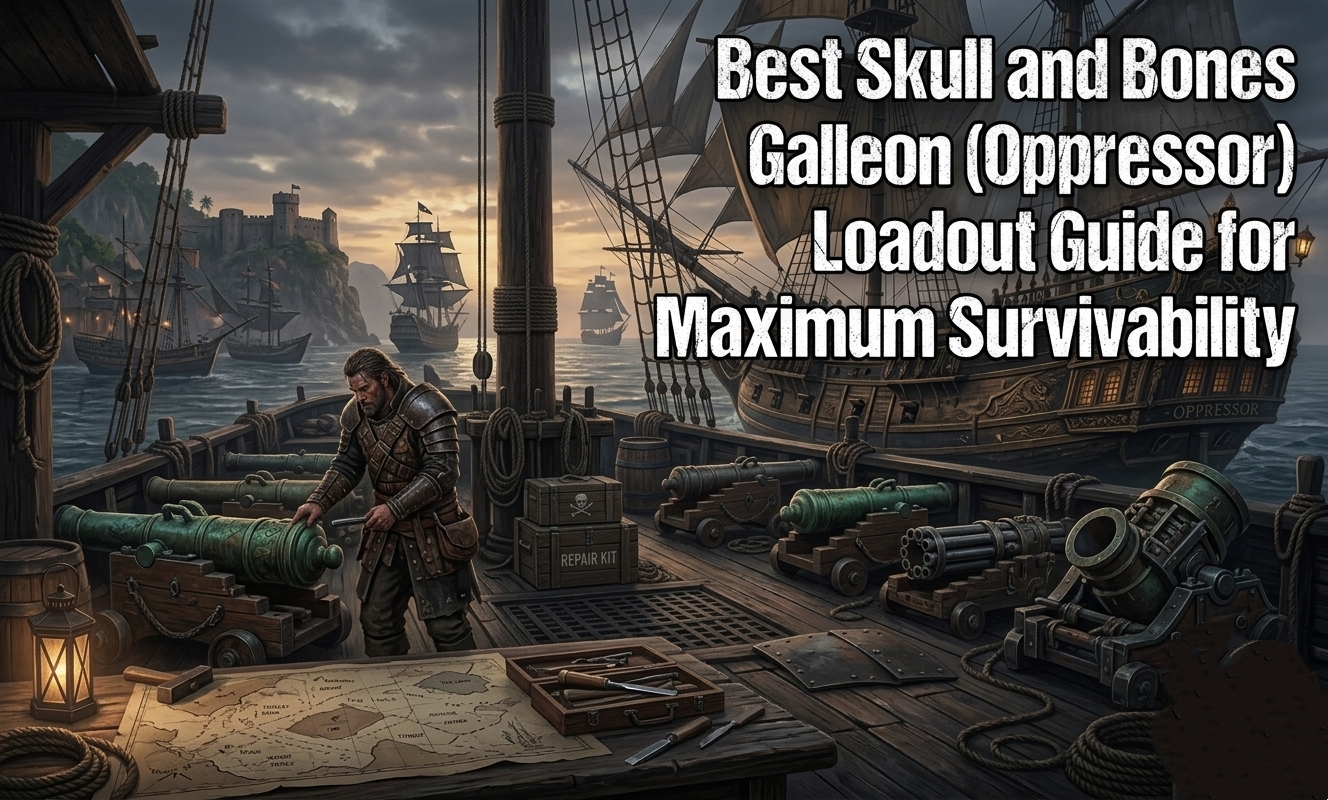
The Galleon, also known as the Oppressor, is one of the toughest ships available in Skull and Bones. Built for durability and overwhelming firepower, it excels at absorbing punishment while dealing relentless damage to enemies. Whether you’re clearing high-level Plunders, farming legendary captains, or taking on seasonal content, choosing the right loadout can dramatically improve your performance.
This guide covers the best weapons, armor, auxiliary equipment, and furniture for an endgame Galleon build, helping you maximize both survivability and sustained damage.
Why the Galleon (Oppressor) Is an Endgame Favorite
Unlike faster ships that rely on mobility, the Galleon is designed to stay in the fight. Its massive hull, excellent defensive stats, and ability to combine powerful weapons with self-healing mechanics make it one of the safest choices for difficult encounters.
Key Advantages
| Strength | Benefit |
| High durability | Survives extended boss fights and Tier 4 Plunders |
| Powerful broadside attacks | Delivers consistent explosive damage |
| Excellent self-healing | Reduces downtime between engagements |
| Strong sustained DPS | Maintains pressure throughout long battles |
This combination makes the Galleon ideal for solo players as well as coordinated fleets.
Best Weapon Loadout
Choosing the right weapons is the foundation of this build. The goal is to maintain constant pressure while maximizing explosive damage.
Bow & Side Weapons
The recommended choices are:
- Hellfire
- Hellepoort
These weapons specialize in:
- Continuous explosive damage
- Combustion effects
- Reliable sustained DPS against heavily armored enemies
Another excellent alternative is the Urban Great Gun.
Why Urban Great Gun?
The Urban Great Gun stands out because it:
- Fires multiple projectiles simultaneously
- Deals impressive weak-point damage
- Performs exceptionally well against elite ships
Depending on your preferred combat style, either setup is capable of handling endgame encounters efficiently.
Best Auxiliary Weapon
For auxiliary equipment, two options stand above the rest.
| Auxiliary | Best Use |
| Little Grace III | Healing-focused build |
| Roaring Meg III | Maximum offensive pressure |
Little Grace III
Little Grace III is widely considered the strongest option for survivability because it:
- Repairs severe damage during combat
- Allows longer engagements without retreating
- Grants additional weapon damage against affected enemies
This makes it the centerpiece of many healing-focused Galleon builds.
Best Armor
Defense is equally important for the Oppressor.
Hullcarver
Hullcarver is generally regarded as the strongest armor choice thanks to its excellent defensive stats.
Its advantages include:
- Outstanding base durability
- Better survivability against elite enemies
- Strong synergy with healing builds
Titan’s Cuirass
Titan’s Cuirass is another excellent defensive alternative if Hullcarver is unavailable, offering substantial protection during extended naval battles.
Best Furniture Setup
Furniture provides significant performance boosts and should not be overlooked.
High-Velocity Kegs
Benefits include:
- Increased secondary damage
- Extended range for piercing weapons
- Better offensive consistency
Ramrod Workshop
This furniture significantly improves reload speed, allowing your heavy cannons to fire more frequently.
Culverin Works
An ideal complement to Ramrod Workshop, Culverin Works increases sustained DPS throughout prolonged engagements.
Double Soul Mending
One of the most valuable furniture pieces for defensive builds.
When paired with Hullcarver, it enables the Galleon to withstand:
- Tier 4 Plunders
- World events
- High-level boss encounters
without constantly disengaging to repair.
Drowning Cabinet or Flood Warden Station
If your build emphasizes flooding effects, either of these furniture options will noticeably increase flooding damage and overall effectiveness.
Complete Recommended Loadout
| Equipment Slot | Recommended Choice |
| Bow Weapon | Hellfire or Urban Great Gun |
| Side Weapons | Hellfire or Hellepoort |
| Auxiliary | Little Grace III |
| Armor | Hullcarver |
| Furniture 1 | High-Velocity Kegs |
| Furniture 2 | Ramrod Workshop |
| Furniture 3 | Culverin Works |
| Furniture 4 | Double Soul Mending |
| Optional | Drowning Cabinet or Flood Warden Station |
This configuration balances survivability with consistent offensive pressure, making it one of the strongest all-around Galleon builds currently available.
Combat Tips
To get the most out of this setup:
- Stay broadside to maximize cannon coverage.
- Use Little Grace III proactively rather than waiting until your health becomes critical.
- Target enemy weak points with the Urban Great Gun whenever possible.
- Keep reload buffs active to maintain continuous pressure.
- Let your armor and healing absorb incoming damage instead of constantly retreating.
Mastering these techniques allows you to remain on the battlefield much longer than lighter ship classes.
Upgrading Your Endgame Build
As you progress through Skull and Bones, upgrading your equipment becomes increasingly important. Farming materials, crafting advanced gear, and acquiring powerful upgrades all contribute to improving your ship’s effectiveness. Many players also look for Skull and Bones Items to accelerate their progression and complete optimized builds more efficiently.
If you’re running difficult endgame activities regularly, maintaining a healthy Silver reserve is equally important. Some captains choose to buy Skull and Bones Silver to reduce the time spent grinding and focus more on challenging naval combat and seasonal content.
For players looking to strengthen their fleet more efficiently, U4GM – Your Favorite Source for Online Game Resources Skull and Bones offers a convenient way to obtain the resources needed to prepare for Skull and Bones’ toughest encounters.
Build Summary
The Oppressor Galleon remains one of the strongest endgame ships thanks to its exceptional durability, heavy firepower, and impressive self-healing capabilities. Combining Hullcarver armor with Hellfire weaponry, Little Grace III, and carefully selected furniture creates a balanced build capable of surviving the game’s most demanding encounters while delivering consistent damage.Whether you’re challenging legendary enemies, conquering Tier 4 Plunders, or participating in seasonal events, this loadout provides the reliability and firepower needed to dominate the high seas.